

How To Draw For Beginners Step By Step

In this drawing tutorial, we will show you how to draw a auto footstep past step. This tutorial will be uncomplicated enough, and in the end, nosotros will get a adequately realistic car drawing.
The procedure of drawing a machine in this tutorial will exist slightly different from what we have previously shown in our other tutorials near drawing cars.
As an instance, we decided to take a Mercedes-Benz S-Class, the previous version of which we have already fatigued on the pages of Drawingforall.cyberspace.
Then, if your fine art supplies are set, then permit'south get down to the tutorial on how to draw a motorcar step by step.
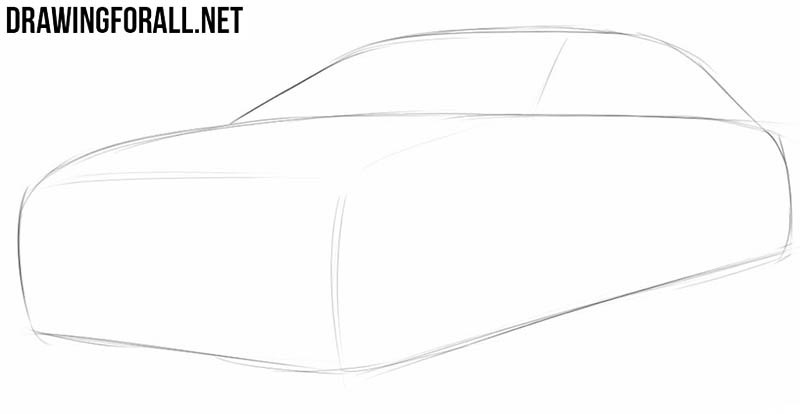
Step i
To draw a car, you first need to draw its basic outlines of the body. Use light lines to draw the boundaries of the body, marking the hood, bawl, trunk, and other of import general parts.
Step 2
Add together the biggest and nigh noticeable details such equally headlights, radiator grille, cycle arches, and window frames. In order to check the correctness of your motorcar drawing, you can look at information technology through a mirror.
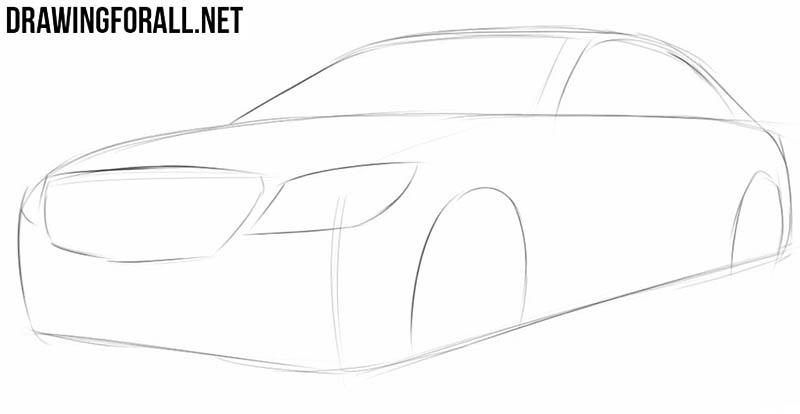
Pace three
We continue to add big general details. Draw the air intakes at the lesser of the front bumper. Next, sketch the B-pillar and rearview mirror. In the wheel arches, sketch out the wheels with very shine lines.

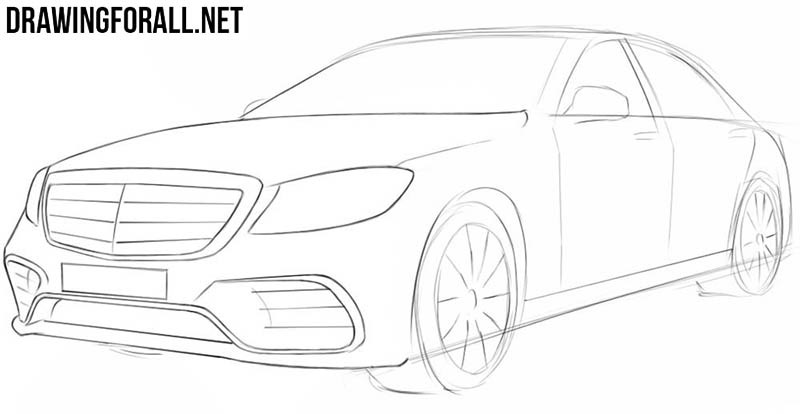
Pace iv
On the side of the body, sketch out the doors and the location of the door handles. Adjacent, use very light lines to sketch the pattern of the rims. Add more detail to the grille and air intakes.

Step 5
With very clear and dark lines, trace and right the outlines of the front of the car. Describe the license plate and lines on the radiator grille and air intakes. Utilise very neat lines to detail everything every bit done in the example from the artists of Drawingforall.internet.
Pace half dozen
Now do the same work with the acme of the car. With darker and clearer lines, detail the roof, windows, and rearview mirror. As y'all describe the parts of the car in detail, delete unnecessary construction lines drawn before.
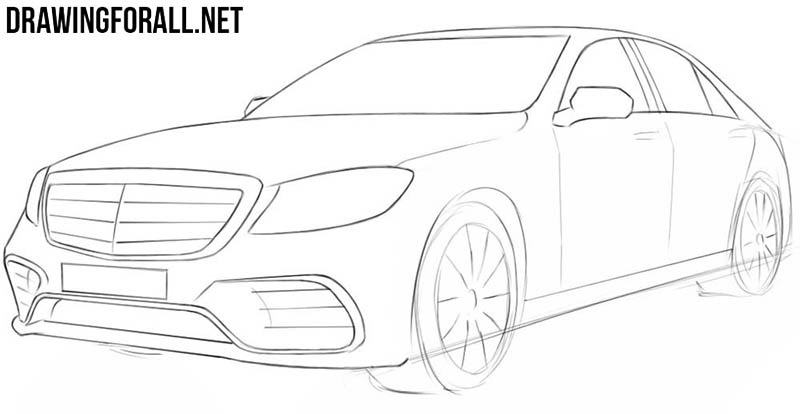
Step 7
Get down a little lower and draw in detail the side surface of the motorcar and the visible role of the trunk. Requite the handles more item and don't forget to draw a couple of decorative lines on the side of the car torso.
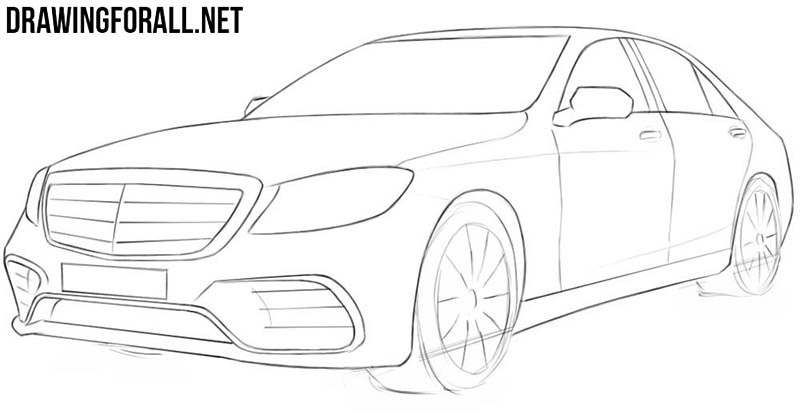
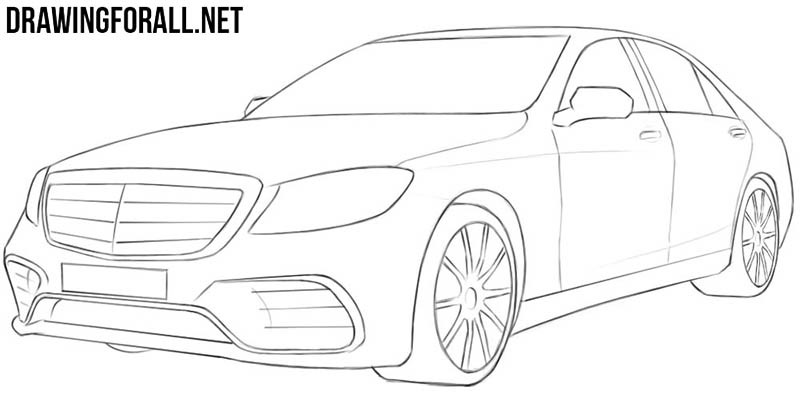
Footstep eight
This stride volition exist a little more than difficult than the previous ones considering here you will demand to draw wheels and rims. Be very careful that the wheels are polish and the spokes are evenly spaced from the center to the edges.
Step 9
Add together shadows to give the car drawing a more than voluminous and convincing look. Shadows should be drawn using hatching, taking into business relationship the shape and curves of the auto parts. This volition give your car cartoon the almost three-dimensional and realistic await.
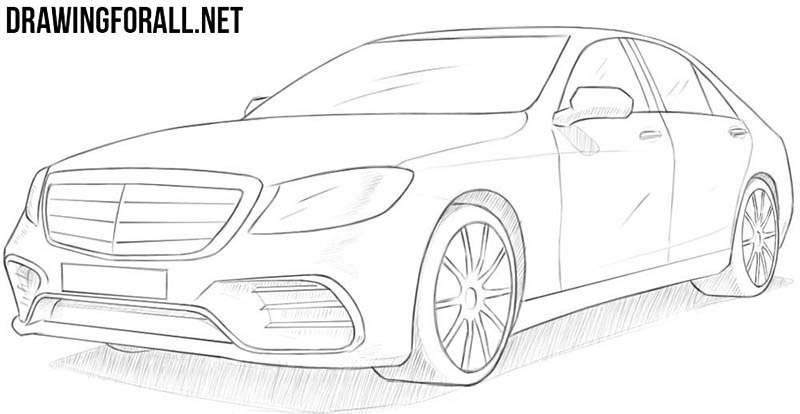
If you have completed drawing a motorcar, then information technology'due south time to consolidate your noesis and have it to the side by side level.
First, try adding more circuitous shadows to give your car drawing an even more than voluminous await. Side by side, attempt drawing a auto from unlike angles. This will train your book perception skill and teach you how to draw cars as beautifully regardless of point of view.
Then y'all tin visit our category called Cars to learn how to draw a wide diversity of cars created past a broad multifariousness of brands.
Nosotros quite oftentimes publish new drawing lessons, and to keep abreast of all updates on the pages of Drawingforall.net, exist certain to subscribe to us on social networks.
In that location you lot will not only find announcements of upcoming tutorials, merely you can also inquire the states questions well-nigh drawing and can share your drawings with our fine art community.

Source: https://www.drawingforall.net/how-to-draw-a-car-step-by-step/
Posted by: davisgostain.blogspot.com
0 Response to "How To Draw For Beginners Step By Step"
Post a Comment